How to Upload Images to a Corporate Event Gallery Website on Pixieset
Learn the ins and outs of uploading images to a corporate event gallery on Pixieset, including technical tips and successful gallery creation strategies.

Introduction
The digital age has revolutionized photography, providing numerous platforms to exhibit professional images. For corporate event photographers, setting up an attractive, easily accessible gallery is vital. Pixieset is one such platform that makes sharing and showcasing your photographs a streamlined process. In this article, we’ll guide you through the steps to upload images to a corporate event gallery on Pixieset, offer technical tips, and share strategies for creating a standout gallery that captures the essence of your event.

Creating a Corporate Event Gallery on Pixieset
Setting up a gallery on Pixieset for a corporate event is a streamlined process, especially designed to cater to professional photographers. Before starting, ensure you have a Pixieset account; if not, sign up on Pixieset. You can explore various plans according to your needs, from free options to full-featured professional accounts.
Steps to Upload Images
Step 1: Create a New Gallery
Log in to your Pixieset account and navigate to the 'Dashboard'. Here, click on 'Create New Gallery'. Name your gallery relevant to the event for easy identification. For instance, "Corporate Gala 2023".
Step 2: Configure Gallery Settings
Once the gallery is created, you will be prompted to customize its settings. Options include visibility status (public, private, or password-protected), expiration dates, and client download permissions. Tailor these settings to fit your client's preferences.
Step 3: Upload Your Images
Within the new gallery, click the 'Upload Photos' button. You can drag and drop images or choose files from your computer. Pixieset supports multiple file types, including JPEG, PNG, and TIFF, ensuring high-quality image presentation. Be mindful of file size limits depending on your subscription plan.
Step 4: Organize Images
Pixieset allows album creation within your gallery. Create albums for different segments of the event or types of photos (e.g., "Highlights", "Guest Candid", "Speeches"). This organization helps clients navigate the gallery effortlessly.
Technical Tips for Uploading
Uploading large volumes of high-resolution images can sometimes be rife with technical hitches. Here are some tips to ensure a smooth upload experience:
- Optimize Image Resolution: While Pixieset maintains image quality, adjusting your photos to an optimal resolution helps avoid cumbersome upload times. Typically, 3000 pixels on the long edge at 300 DPI is sufficient.
- Use a Stable Internet Connection: A stable and fast connection minimizes interruptions during upload sessions.
- Batch Upload: Grouping your images for batch uploads can save time and effort, especially if you have multiple galleries to populate.
- Regular Updates: Ensure your browser is up-to-date to avoid compatibility issues with Pixieset's uploader interface.
Creating a Successful Corporate Event Gallery
Success in gallery creation isn’t merely about technicalities but also about strategic presentation. Here are some tips to ensure your corporate event gallery stands out:
- Storytelling through Sequencing: Organize your images in a manner that tells a story – from the arrival moments, through the main event, to the closing.
- Brand Alignment: Incorporate the corporate brand's colors and motifs into the gallery's design aspects if possible.
- Highlight Key Moments: Select specific images that encapsulate the event’s essence and highlight them in a featured section of the gallery.
- Feedback and Adaptation: Regularly request feedback from clients and be willing to adapt your gallery practices for future events. This could involve tweaking organizational methods, display options, or technical upload procedures.
How MyPhotos.site Outshines the Competition
While Pixieset offers a solid infrastructure for photo gallery creation, MyPhotos.site holds its own distinctive advantages. Its intuitive user interface simplifies the upload process even further with features like direct Google Photos integration. This can significantly reduce photo management hassles for users heavily reliant on cloud-based solutions. Furthermore, MyPhotos.site offers highly customizable galleries, allowing you to tweak every aspect to fit personal or corporate styling preferences seamlessly.
The platform's scalable subscription plans cater to both individual photographers and businesses, ensuring everyone can access the necessary tools without overpaying. Additionally, MyPhotos.site prioritizes maintaining an elegant, ad-free user experience which ensures viewers' focus remains solely on your stunning photography.
Conclusion
Efficiently uploading and organizing images on a corporate event gallery using Pixieset can drastically enhance your professional presentation. By adhering to the step-by-step guides and leveraging our technical tips and best practices, your galleries will not only be functional but also compelling to corporate clients. While Pixieset serves as an effective tool, the distinct features offered by platforms like MyPhotos.site can provide even greater customization and user experience to promote your photographic art effectively in a corporate context.
Make a gallery website from Google Photos in minutes
Share your albums online. It's super easy to set up.


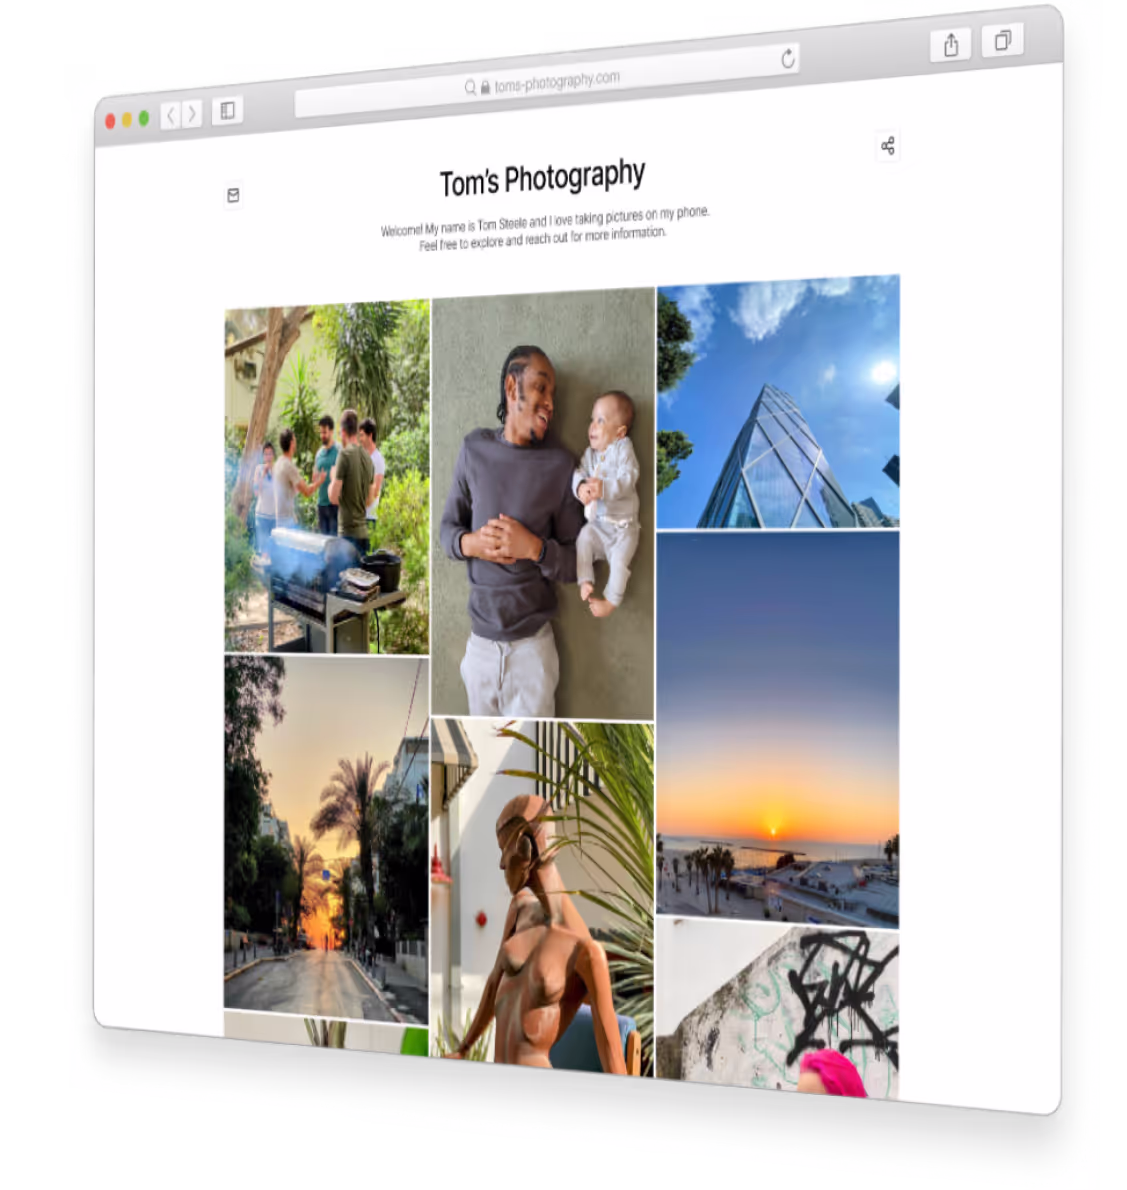
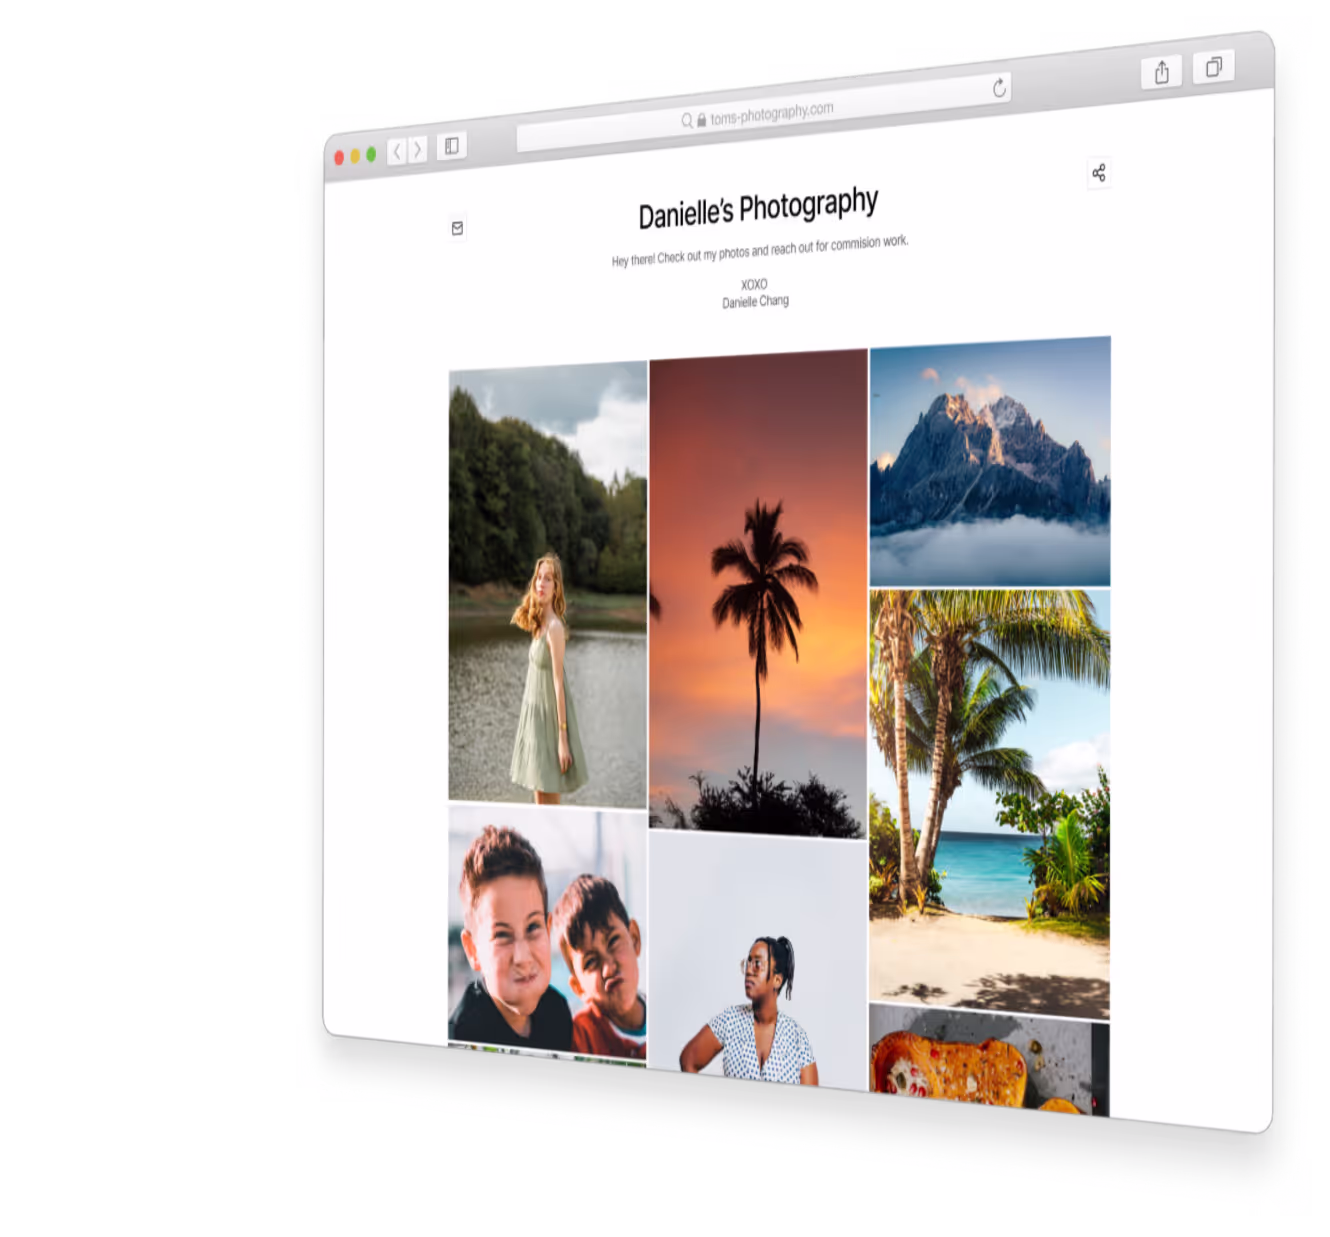
Examples
Photo sharing for everyone
Show your art, keep friends up-to-date or share family photos with lode ones.
Share your photography with the world today
Get a beautiful website to present your work.