Introduction
Pixieset is a popular platform among photographers, especially those in the wedding photography niche. It allows professionals to create beautiful galleries that can be shared easily with clients. Learning to efficiently upload and manage images on Pixieset is key to delivering exceptional service to your clients, ensuring their special day is reflected in a beautifully organized online gallery. In this guide, we'll walk you through the process of uploading images to a wedding gallery on Pixieset, share some technical tips, and help you create a stunning showcase of your work.

Uploading Images to Pixieset
Uploading images to Pixieset is a straightforward process, designed to be easy even for those new to the platform. Here are the steps to follow:
- Create a Collection: Log into your Pixieset account and navigate to the "Collections" section. Click on "+ New Collection" to start a new project. Enter the collection details such as name, date, and other important information that relates to the wedding.
- Set Your Collection Preferences: Before uploading your images, it's beneficial to set your collection preferences. Adjust the privacy settings, enable download permissions, and set up any necessary access codes to ensure your clients' privacy while sharing.
- Upload Your Images: After setting up your collection, click on "Upload" to start adding your pictures. You can drag and drop files from your computer directly onto the page or use the "Select Files" option to choose images from a file browser. Make sure to upload high-resolution images to maintain quality for prints and displays.
- Organize Your Gallery: Once your images are uploaded, you can organize them into sections or reorder them according to a storytelling sequence. Pixieset allows you to create different folders within a collection, which is ideal for categorizing images (e.g., "Ceremony", "Reception", "Portraits").
- Save and Publish: After arranging your images, save your work and publish the collection. You can then share a link with your clients for them to view their wedding gallery.
Technical Tips for Uploading Images
Mastering technical settings for uploading on Pixieset ensures your gallery delivers the right impact to viewers. Here are some crucial tips:
- Image Format and Size: To retain the quality of your photos, ensure they are saved in JPEG format at 300 DPI. While Pixieset accepts a range of image sizes, uploading images with a minimum width of 1500 pixels ensures excellent quality on all devices.
- Color Profiles: Use the sRGB color profile for all images, as it's best suited for web viewing. Images in other profiles might display inaccurately on different screens.
- Efficient Use of Tags and Metadata: Incorporate metadata and tags into your images before uploading. This not only helps with the organization but also can be useful for searchability and SEO purposes.
- Proper Naming Conventions: Name your image files descriptively, which aids in managing large numbers of images. Consider including the couple's name or the event date in the filenames.
Creating a Successful Wedding Gallery Website
Creating a wedding gallery that impresses your clients and effectively showcases your work involves more than just uploading images. Here's how you can ensure your gallery stands out:
- Curate with Care: Carefully select images that tell the complete story of the wedding day. While it can be tempting to include every photo, focus on the highlights to maintain viewer interest.
- Design with Simplicity: Less is often more. Use Pixieset's clean and minimalist design templates to enhance, not overshadow, your photography.
- Leverage Text and Captions: Use captions to convey the narrative and add context to each section of the gallery. Brief introductory text can help set the scene before showcasing the images.
- Enable Client Interaction: Features such as Favorites and Comments allow clients to engage more deeply with their gallery. Enabling feedback tools can help improve client satisfaction and photos to be selected for albums.
- Maximize Accessibility: Ensure that the gallery can be easily accessed across all devices by testing the viewability on desktop and mobile platforms before sharing with clients.
Why MyPhotos.site is a Better Choice
While Pixieset is undeniably a great option for photographers, MyPhotos.site offers additional features and benefits that cater to both photographers and small businesses. With seamless Google Photos import, users can easily incorporate their existing libraries into beautiful galleries. MyPhotos.site prioritizes simplicity, ensuring an intuitive user experience with customizable galleries that can be tailored to fit any aesthetic. Plus, with flexible pricing plans, you can start with a free plan and upgrade as your business grows, making it a scalable solution perfect for anyone from hobbyists to seasoned professionals.
Conclusion
Uploading images to a wedding gallery website on Pixieset is a process that, when done correctly, results in a stunning showcase of your client’s special day. By following the steps and tips outlined in this guide, you can ensure that your clients receive a beautifully curated gallery that reflects the emotion and joy of their wedding day. Whether you decide to use Pixieset or explore other platforms like MyPhotos.site, the key is in crafting an unforgettable experience for your clients through quality, storytelling, and engagement.
Make a gallery website from Google Photos in minutes
Share your albums online. It's super easy to set up.


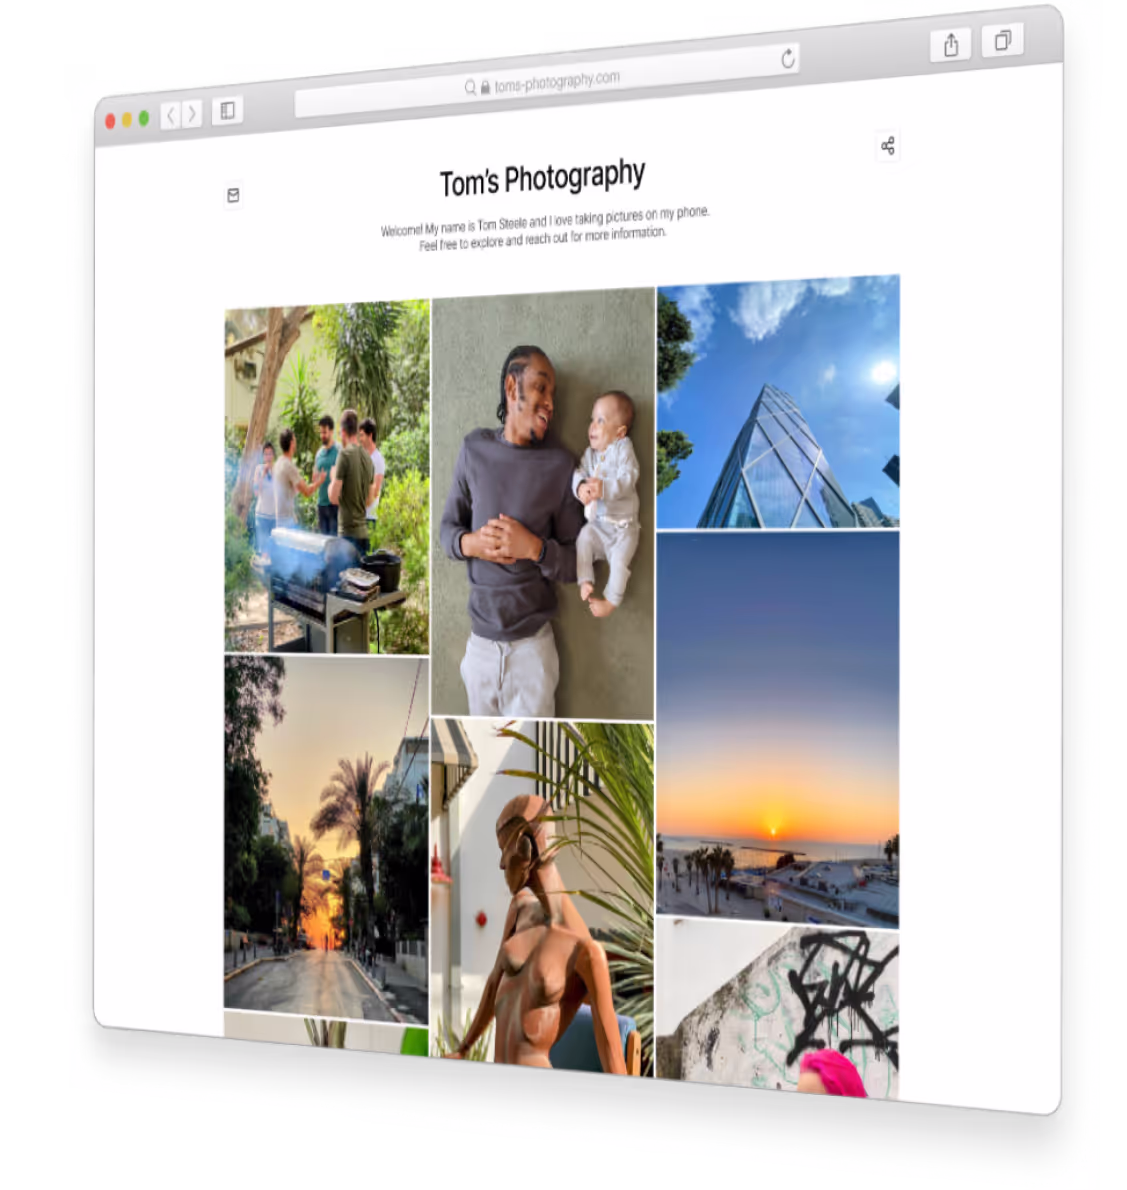
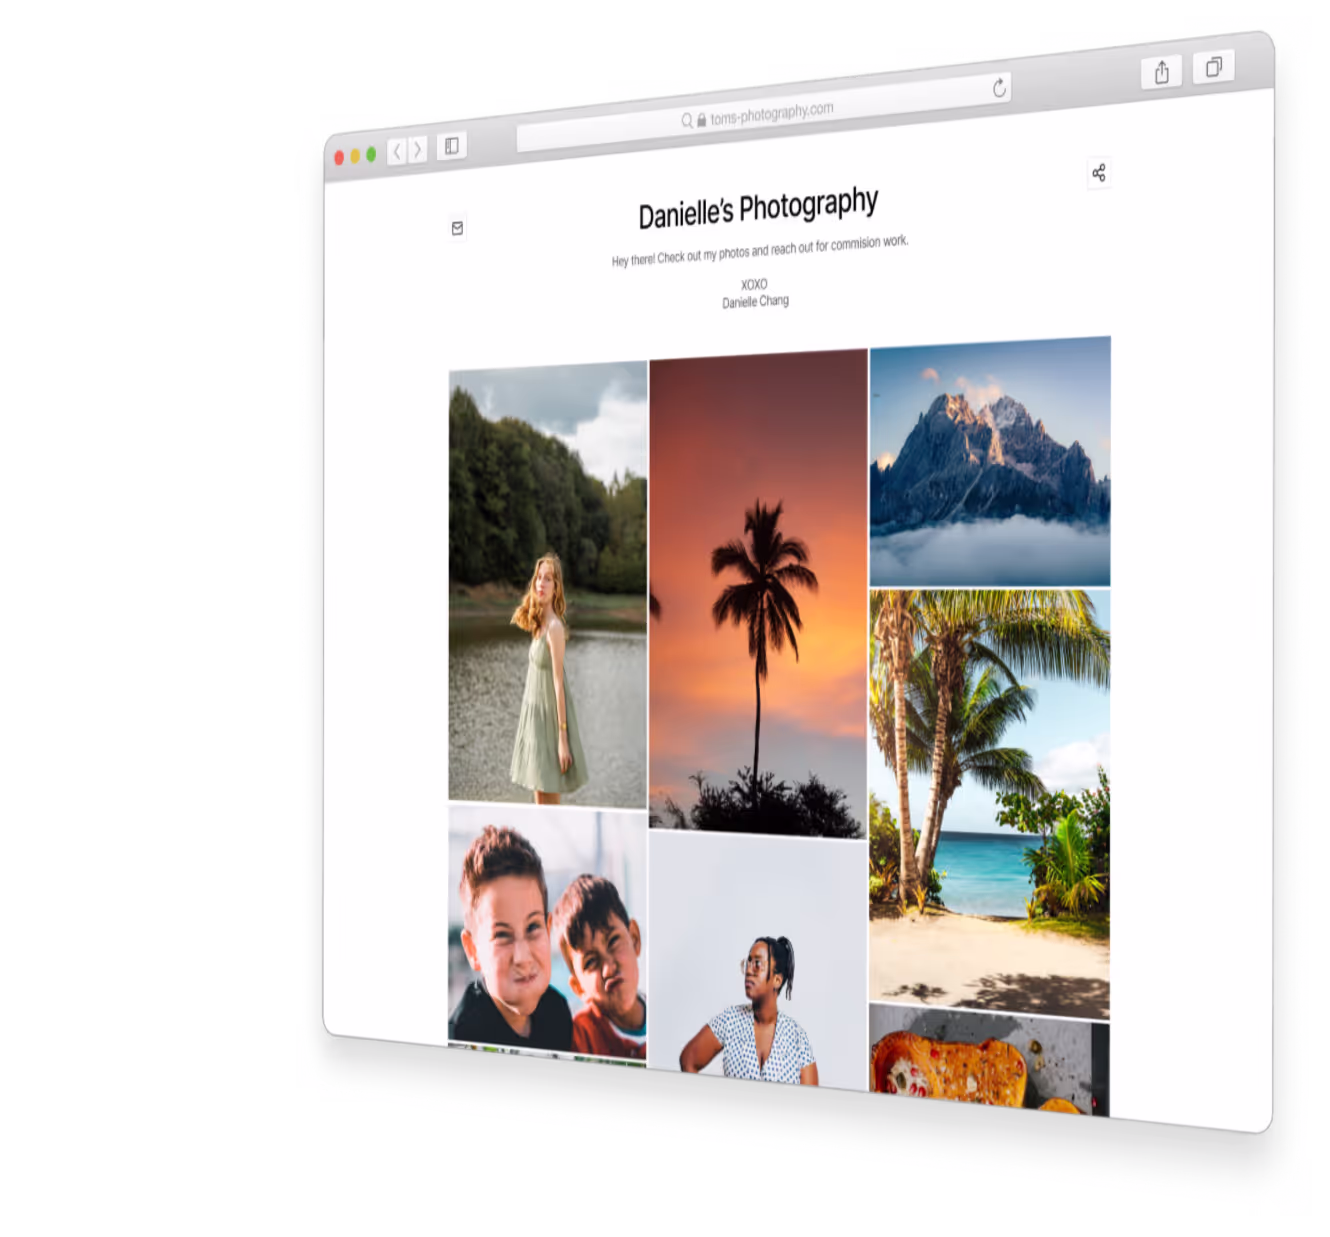
Examples
Photo sharing for everyone
Show your art, keep friends up-to-date or share family photos with lode ones.
Share your photography with the world today
Get a beautiful website to present your work.