Introduction
For travel enthusiasts, photographers, and bloggers, sharing vivid memories and captivating scenes from around the globe has never been easier than it is with WordPress. Creating a travel gallery website allows you to bring your experiences to life and share them with a broader audience. In this article, we’ll walk you through the process of uploading images to a travel gallery on WordPress, coupled with essential technical tips and strategic advice for building an outstanding gallery website.
Uploading Images to a Travel Gallery on WordPress
Uploading images to your travel gallery on WordPress involves several steps, each designed to make your site as visually appealing and functional as possible. Here’s a step-by-step guide to help you get started.
Step 1: Set Up Your WordPress Site
If you haven't set up your WordPress site yet, begin by choosing a hosting provider that supports WordPress installation. Many hosts offer one-click installations for WordPress, simplifying the process significantly. Follow the instructions provided by your chosen hosting provider to install WordPress.
Step 2: Select a Travel-Friendly Theme
Choose a theme that complements travel galleries. Themes like Astra, OceanWP, or Travelity are excellent for showcasing images. Install your selected theme by navigating to Appearance > Themes > Add New in your WordPress dashboard, then search for and install your preferred theme.
Step 3: Select a Gallery Plugin
To add more functionality to your image galleries, install a plugin like NextGEN Gallery or Envira Gallery. These plugins offer customizable gallery options and improve image organization on your site. Install them by heading to Plugins > Add New and searching for the plugin name.
Step 4: Upload Images
To upload images, either use the built-in WordPress media uploader or the gallery plugin uploader. Navigate to Media > Add New to upload directly to your media library, or use the specific gallery interface within your plugin to batch upload images to a gallery.
Technical Tips for Uploading Images
Tip 1: Optimize Images for Web
Before uploading, ensure images are optimized for web use. Tools like TinyPNG or ShortPixel can compress images without loss of quality, reducing load times.
Tip 2: Use Descriptive Filenames
When naming your image files, use descriptive, keyword-rich filenames to improve SEO. For example, instead of IMG_1234.jpg, use sunset-over-santorini.jpg.
Tip 3: Add Alt Text
Always add alt text to your images. This not only improves accessibility but also boosts SEO. Use descriptive words that succinctly convey the image content.
Creating a Successful Travel Gallery Website
Focus on Storytelling
Use your travel gallery to tell a story. Arrange images chronologically or by theme to engage your viewers and offer a narrative that retains their attention.
Incorporate Captions and Context
Adding captions or brief descriptions provides context and enhances the storytelling aspect of your gallery. Discuss the experience behind each image, enriching your narrative.
Make It Interactive
Enhance user engagement by incorporating interactive features like clickable maps showing your travels or slideshows that provide an immersive experience.
Keep Navigation Intuitive
An intuitive navigation structure helps visitors browse easily. Sections can be organized by destinations, trip categories, or timeframes, offering various paths for exploration.
Why MyPhotos.site is a Better Choice
For those who desire a streamlined, intuitive experience, MyPhotos.site offers simplicity and ease of use that outshines traditional CMS platforms like WordPress. With seamless integration with Google Photos, it facilitates effortless image transferring and organizing, making it ideal for those who want to focus on showcasing their travel memories without diving deep into coding or configurations.
MyPhotos.site's customizable galleries are perfect for individuals wishing to create visually delightful stories without extensive technical expertise. Whether you’re starting with the free version or opting for expanded features, you’ll enjoy a hassle-free setup that centers around your creative vision and storytelling prowess.
Conclusion
Creating a travel gallery on WordPress allows you to take your audience on a visually exciting journey. By following the detailed steps to upload and organize your images, coupled with the optimization and storytelling strategies detailed above, you can build an impressive and engaging travel narrative.
However, if you're seeking a platform that does the heavy lifting, consider MyPhotos.site for an option that simplifies the process and enhances your ability to share stunning travel galleries with minimal effort.
Make a gallery website from Google Photos in minutes
Share your albums online. It's super easy to set up.


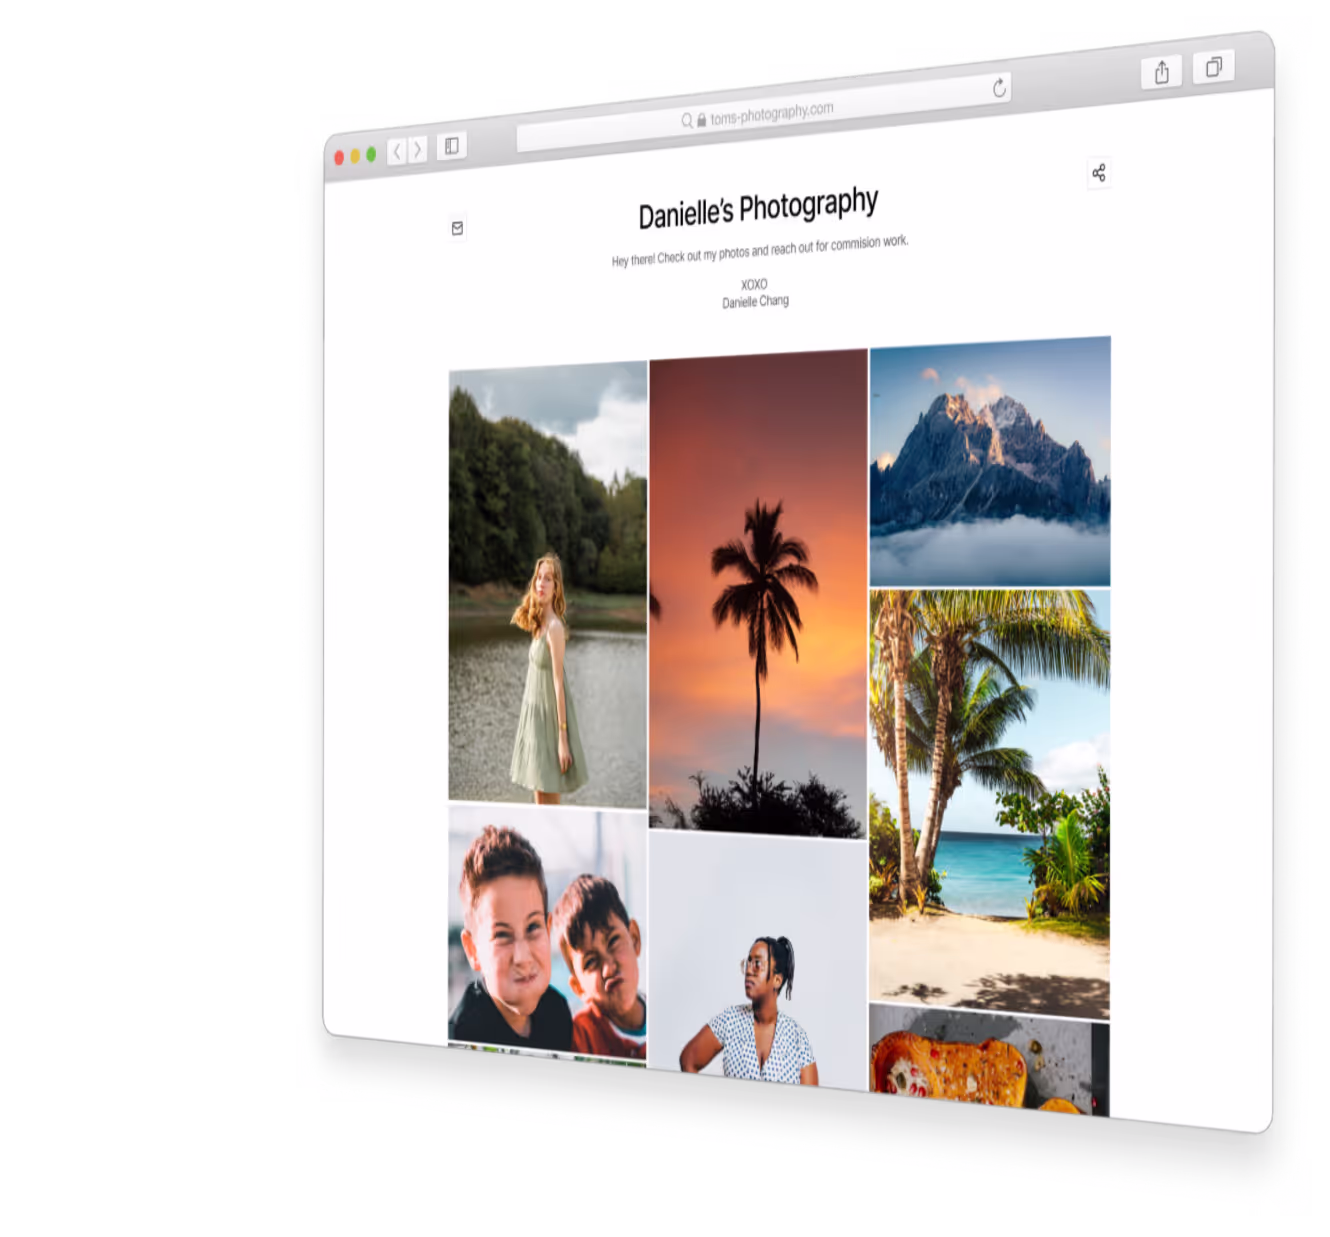
Examples
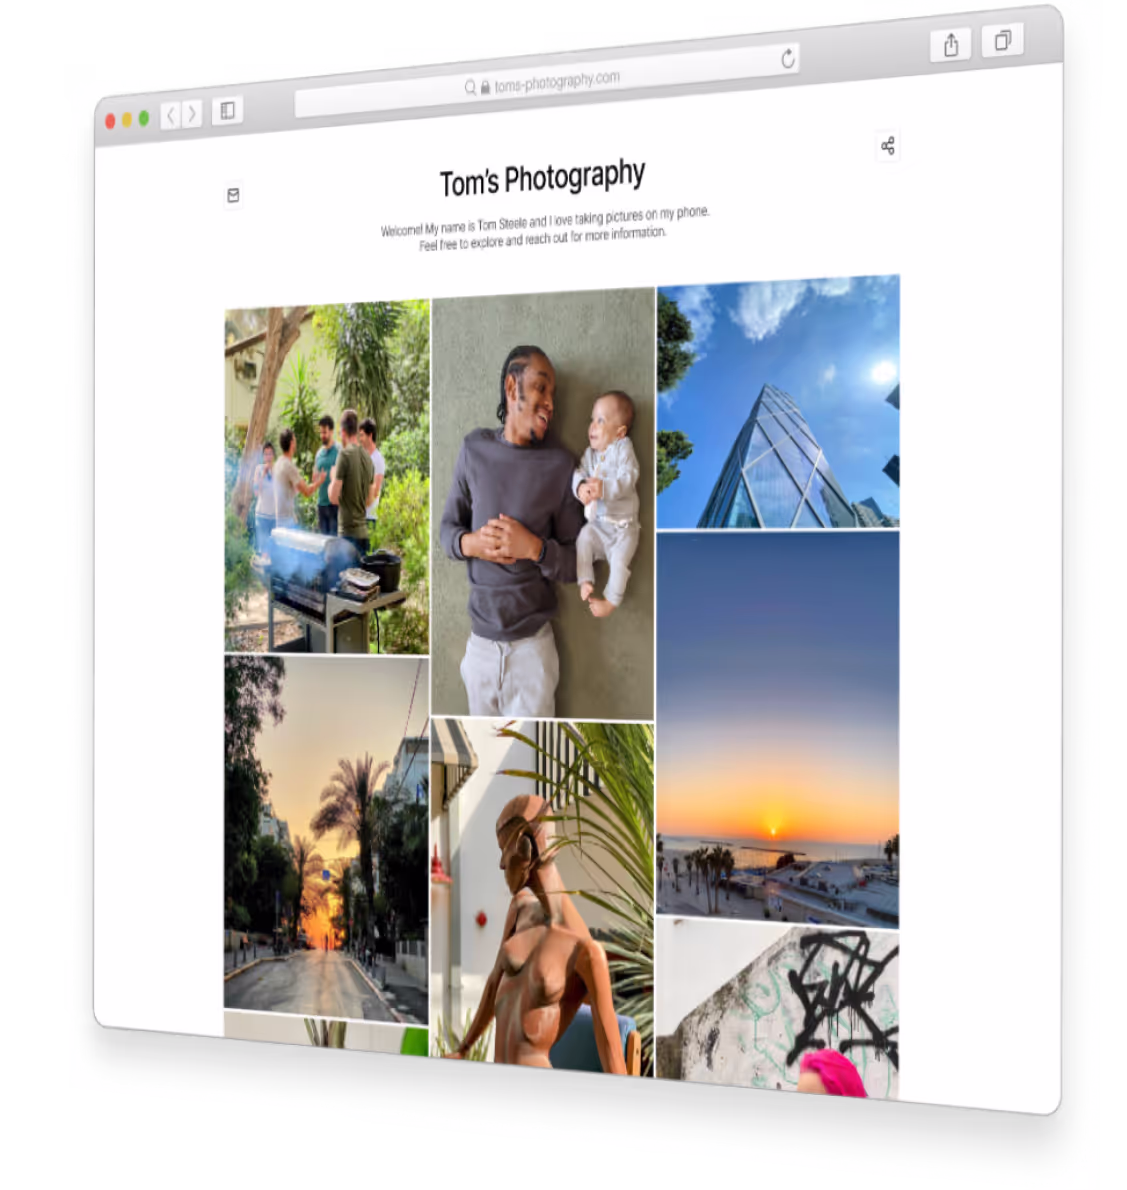
Photo sharing for everyone
Show your art, keep friends up-to-date or share family photos with lode ones.
Share your photography with the world today
Get a beautiful website to present your work.