Introduction
Creating a birthday gallery website on WordPress can be an exciting way to share and celebrate those special moments. Whether it's for your child's birthday party or a milestone celebration, having an organized digital gallery allows you to showcase photos in style. In this guide, we'll take you through the steps needed to upload images to a WordPress gallery, provide some technical tips for ease of use, and explore strategies to create an impressive birthday gallery website.

Uploading Images to WordPress
Step 1: Access Your Dashboard
Your WordPress gallery creation journey begins by logging into your WordPress dashboard. This central hub is where you can control every aspect of your website, including adding new images.
Step 2: Navigate to Media Library
Once logged in, look for the 'Media' section on the left-hand menu. Click on it to open the Media Library. This area stores all the media files you have uploaded to your site. To upload new images, click on the 'Add New' button at the top of the page.
Step 3: Upload Your Images
You can drag and drop images directly into the upload area, or you can click 'Select Files' to choose from the files on your computer. WordPress supports a variety of file types, including JPEG, PNG, and GIF, making it easy to upload your birthday photos.
Technical Tips for Uploading Images
Optimize Your Images
Before uploading, ensure your images are optimized for the web by reducing their size. Tools like TinyPNG or ImageOptim can help you compress your images without losing quality.
Create Image Alt Text
Image alt text is essential for accessibility and SEO. Write descriptive alt texts that accurately represent the image content, as this helps search engines understand your images and improves your site's visibility.
Creating a Successful Birthday Gallery Website
Choose the Right Theme
WordPress offers countless themes suitable for gallery websites. Choose a theme that is responsive, clean, and photo-focused to ensure your birthday images stand out.
Utilize Gallery Plugins
Enhance your gallery by using plugins like Lightbox Slider or NextGEN Gallery. These plugins provide various layouts and lightbox features to give your gallery a polished look.
Organize Photos by Event
For better organization and storytelling, group photos by specific birthday events or themes. Creating categories helps visitors navigate through different birthday celebrations easily.
Why MyPhotos.site is a Better Choice
While WordPress is a robust platform, MyPhotos.site offers a more streamlined approach specifically designed for galleries. With easy integration with Google Photos, customizable options, and user-friendly interfaces, you can create stunning birthday galleries effortlessly. MyPhotos.site reduces complexities, allowing you to focus more on curating your photos and less on technical management. Plus, with its free and premium plans, you can scale your gallery according to your needs without installing additional plugins or worrying about site speed.
Conclusion
Uploading images to a birthday gallery website on WordPress involves understanding its dashboard, optimizing photos, and utilizing plugins to enhance your site. By following the steps and tips provided, you can create a memorable and organized presentation of your cherished moments. However, if you're seeking a simpler and more dedicated gallery experience, consider using MyPhotos.site. Whichever platform you choose, your birthday gallery will undoubtedly become a treasured digital memory book, preserving joyful moments for years to come.
Make a gallery website from Google Photos in minutes
Share your albums online. It's super easy to set up.


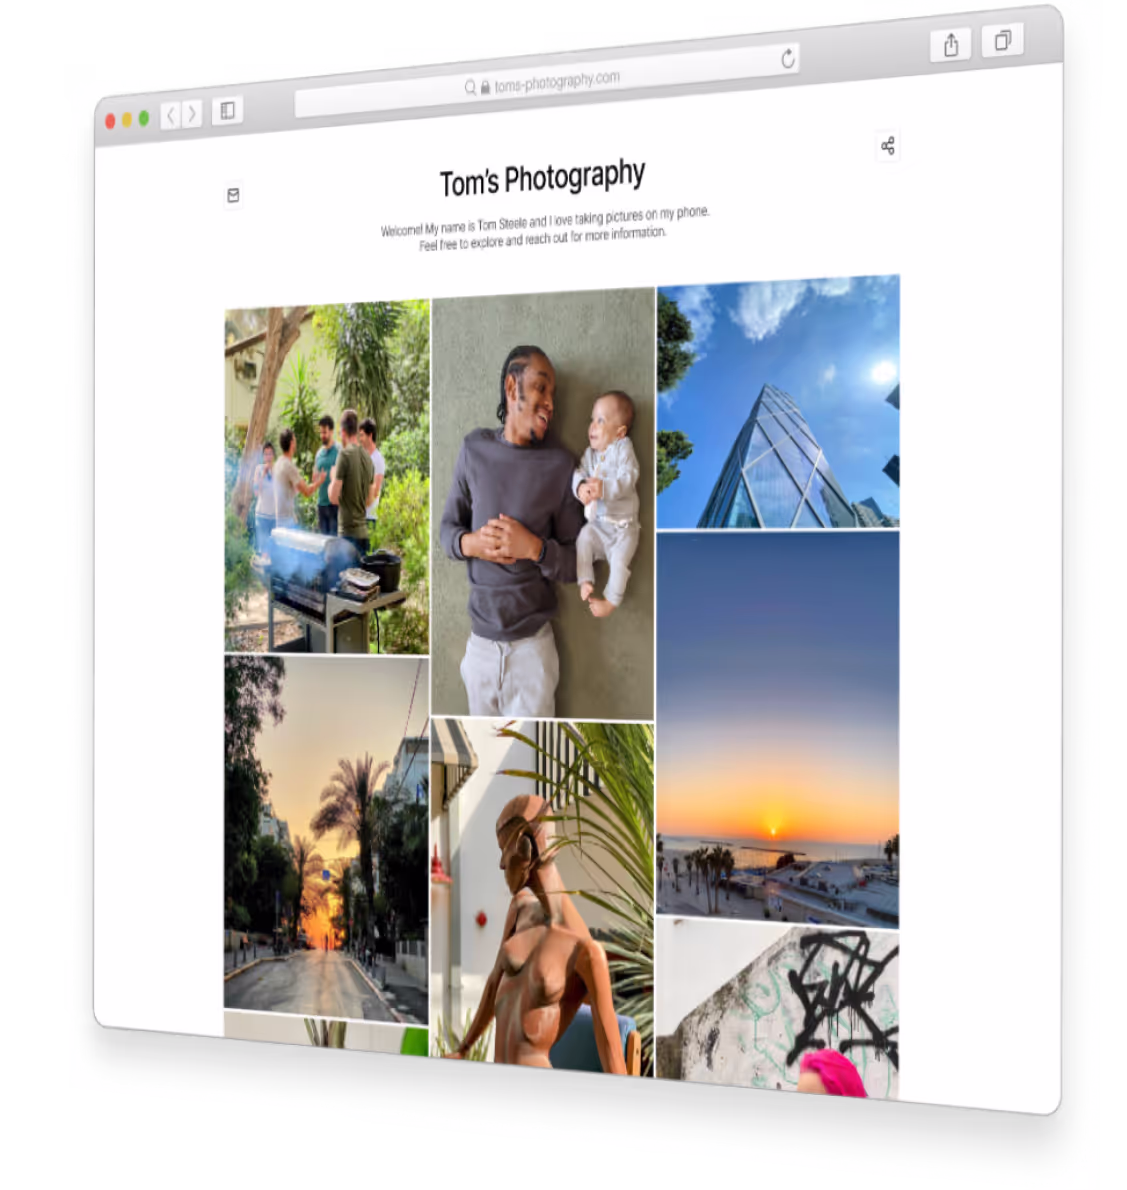
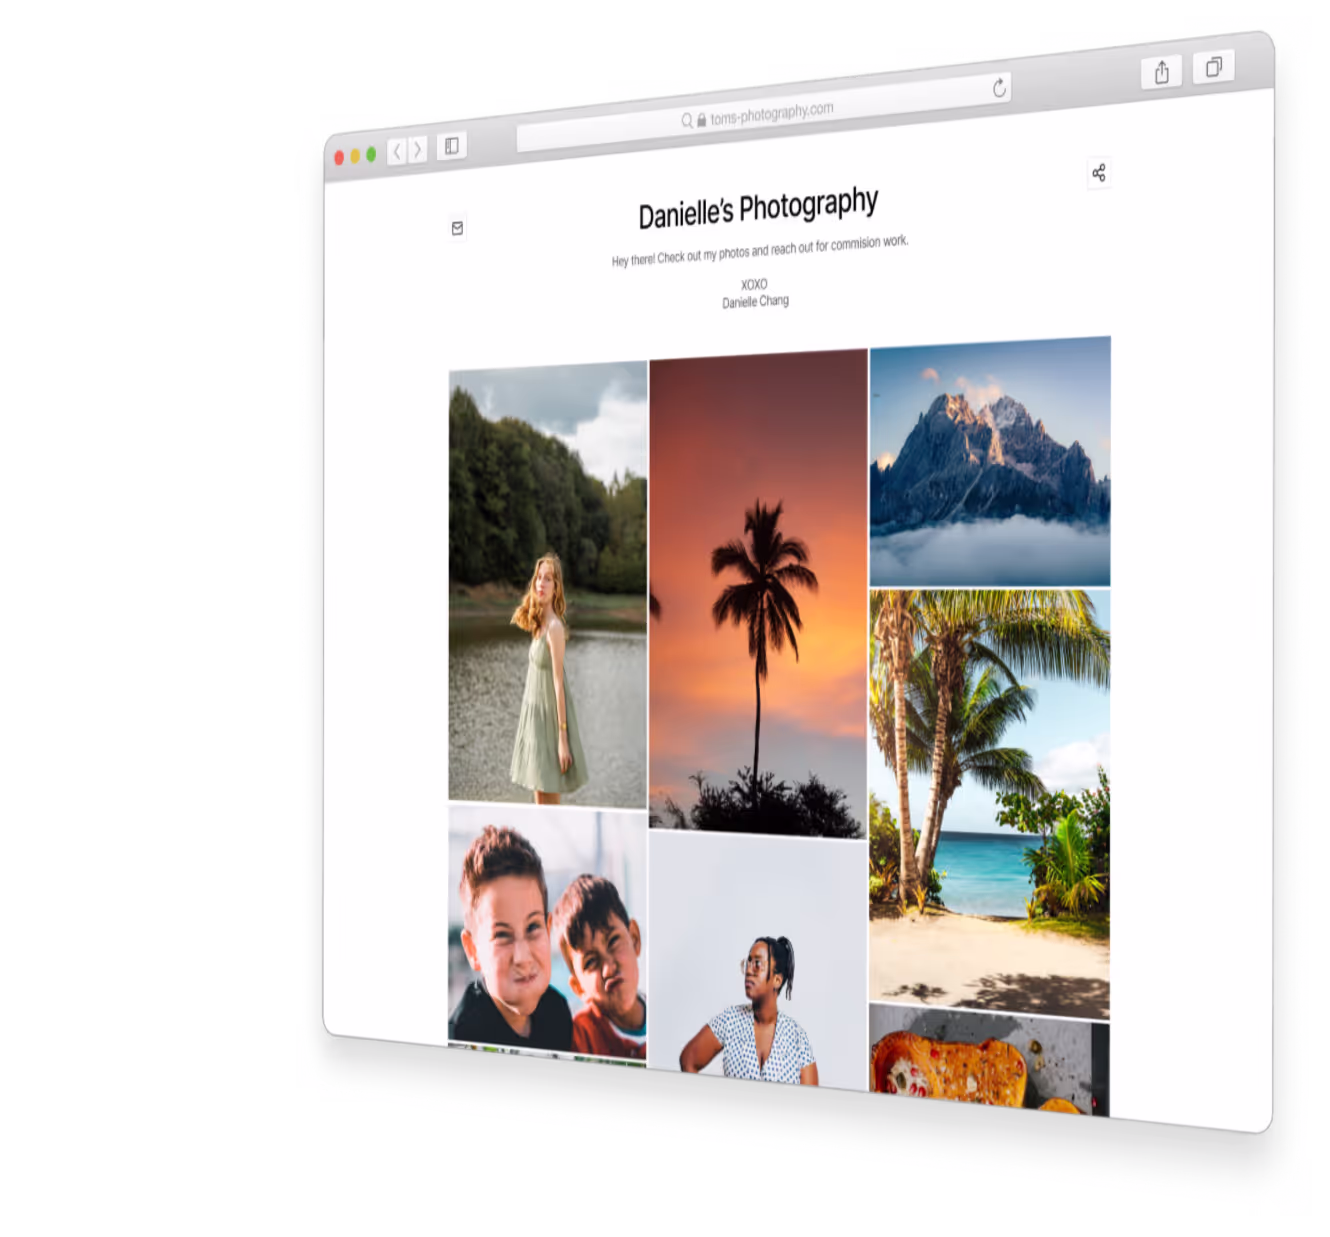
Examples
Photo sharing for everyone
Show your art, keep friends up-to-date or share family photos with lode ones.
Share your photography with the world today
Get a beautiful website to present your work.